This in formation was taken from
http://gigaom.com/apple/walkthrough-initial-ipad-setup/ and can be applied to PC's as well just down load Itunes free from the web at
http://www.apple.com/au/itunes/download/
Setup
After unboxing my iPad and powering it on for the first time, I had to connect it to iTunes before actually being able to use the new toy. Did I say toy? I mean the magical and revolutionary device. That’s disappointing because people want to use their iPad right now! The process of setting up the iPad in iTunes is very straightforward, similar to setting up an iPhone, but with a few quirks and one possible, rather funny bug.
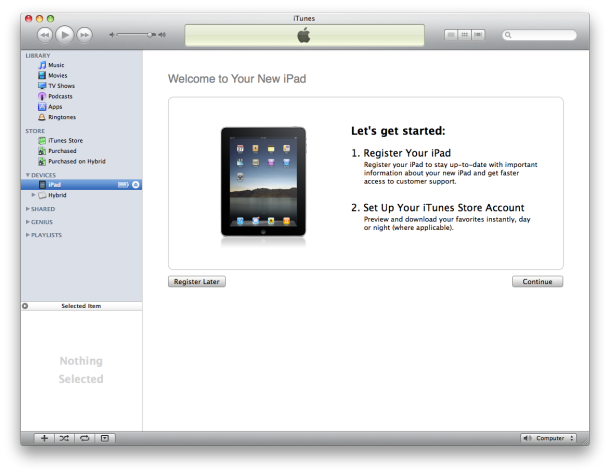
As soon as you plug the iPad into your Mac, iTunes 9.1 will open and you’ll see a welcome message. Be sure to upgrade to the latest version of iTunes before hookup.
As soon as you plug the iPad into your Mac, iTunes 9.1 will open and you’ll see a welcome message. Be sure to upgrade to the latest version of iTunes before hookup.
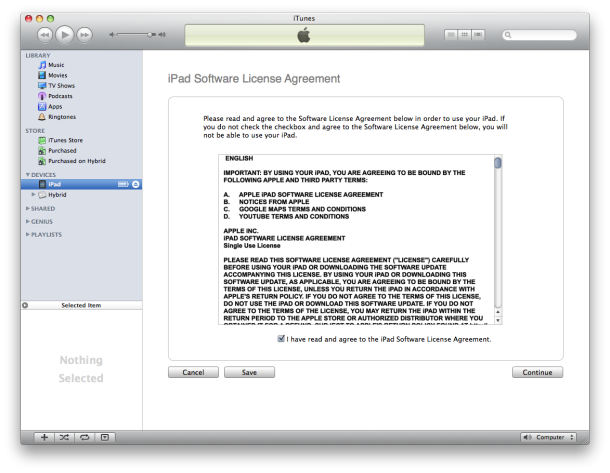
Click through that and there’s that license. Does anyone actually read these things? If you say no, does it self-destruct?
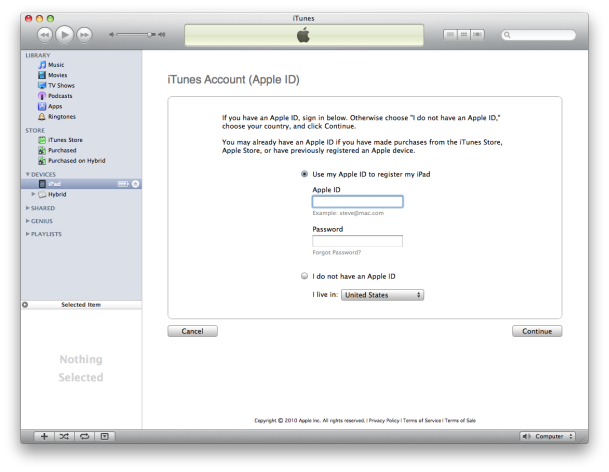
Next up is where you tell the iPad about your iTunes account. If you are new to the world of iDevices, you also have the option to set up a new account here
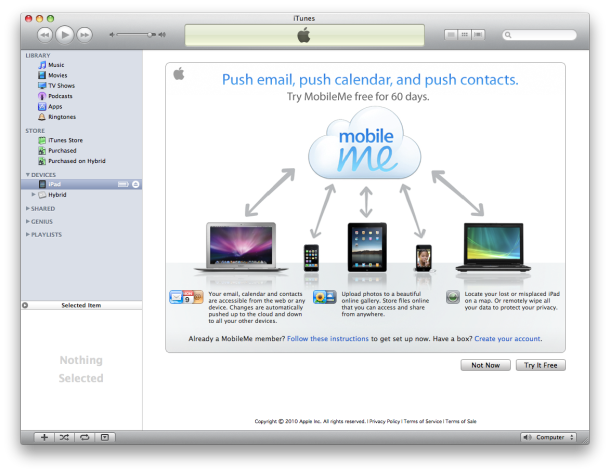
Apple doesn’t miss a chance to up-sell its MobileMe service.
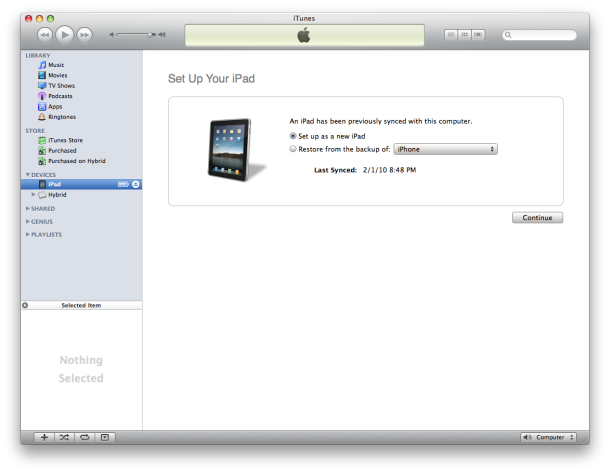
OK, finally we are in the final stretch here. On the next screen, you get to choose whether to set up your iPad from scratch or restore from a previous backup. The dialog allowed me to to select the backup from my iPhone, which would presumably be a big time-saver if you have an extensive collection of apps (and their settings) you want to transfer over to the iPad. I saw a cute bug here: the message says “An iPad has previously been synced with this computer” — unless your name is Steve Jobs, it is very unlikely you have synced an iPad with your Mac before today! And if you did, you probably are violating an NDA by telling us this fact.
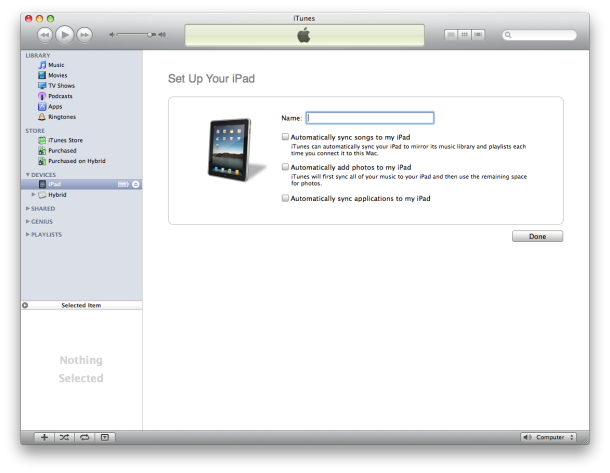
Now it’s time to name your new baby. This year’s hot names include the always-popular “Michael” and “Clohe.” Sharing this iPad is going to be an issue I know.
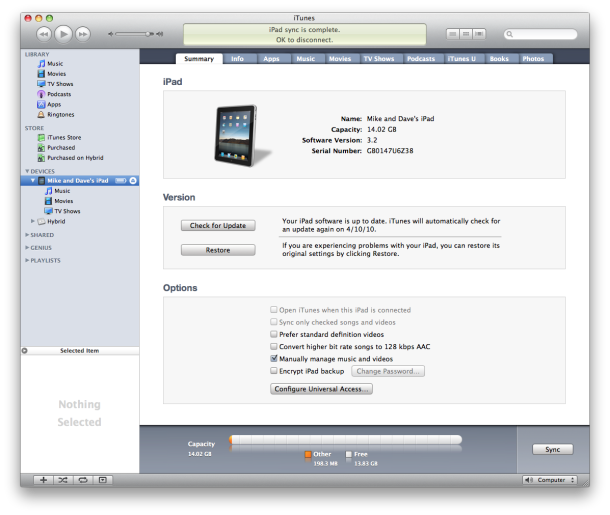
Ah, finally, the main screen. It is very similar to the iPhone management screen in iTunes. You can see at a glance how much disk space is on your iPad, and what version of software it is running.
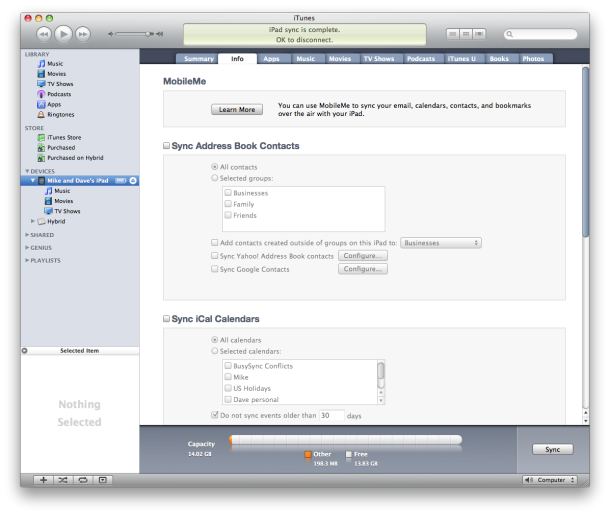
The “Info” tab is where you will see your detail sync settings for things like contacts, email, and address book entires. You can also set up MobileMe from here if you didn’t earlier.
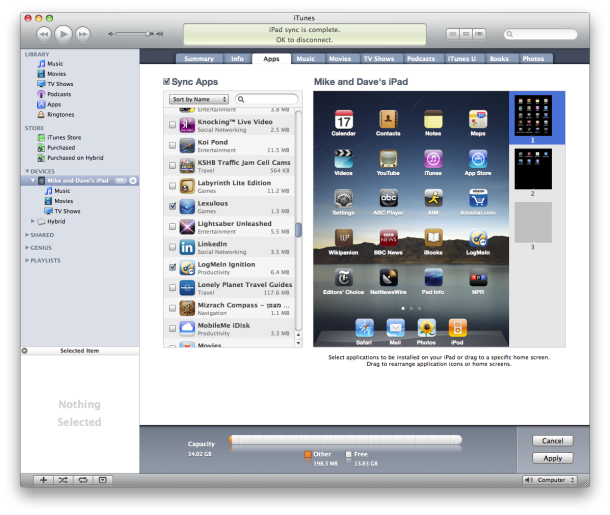
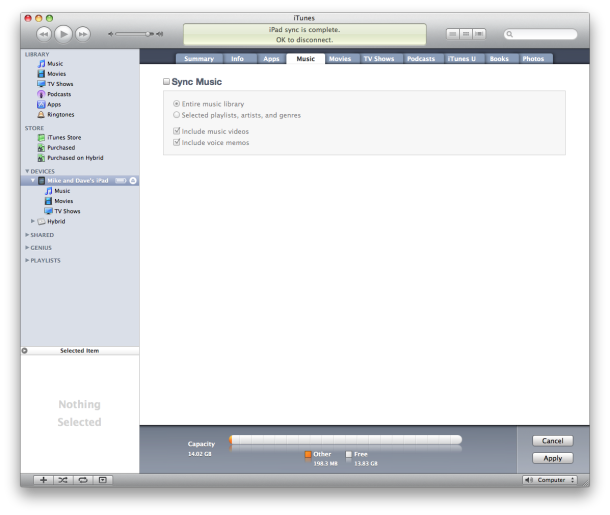
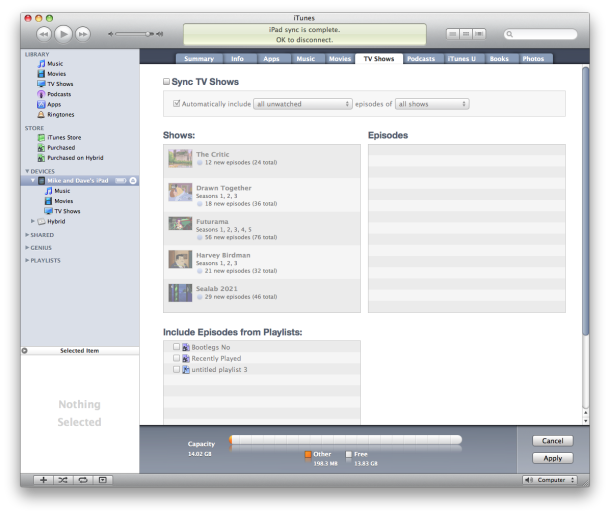
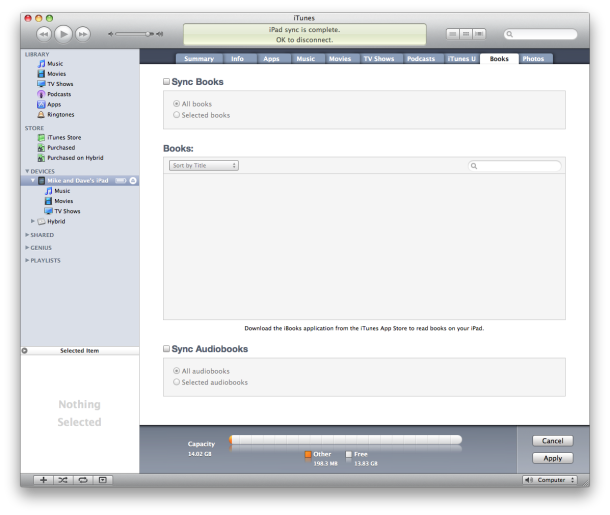
The next set of tabs are familiar to anyone who has used another iDevice. The apps tab allows you to sync and arrange apps. Unfortunately, when I told it to sync apps, it selected every app I owned, well over 100 of them, making me manually un-select the numerous apps I didn’t want to install. The other tabs, like music, movies, iTunesU, podcasts and photos are exactly what you’d expect. If you sync photos, the software will have to optimize them for the iPad, which can take quite a while if you have a large photo library. In retrospect I would recommend avoiding this step for initial setup. Lastly, we have a brand new tab: Books. This is where you will manage books you by with the iBooks app or iTunes. I don’t have any yet — but this will soon change!
One interesting quirk I noticed while doing my initial sync is that the iPad didn’t charge while syncing. I have my iPad’s USB cable hooked to my Apple Keyboard rather than directly into my Mac, so I suspect perhaps not enough power is available for charging. When I plug it directly into the Mac via the USB cable, it charges as expected. There you go, start to finish it was about half an hour. If I would have avoided the Photo sync it would have been less than five minutes.